
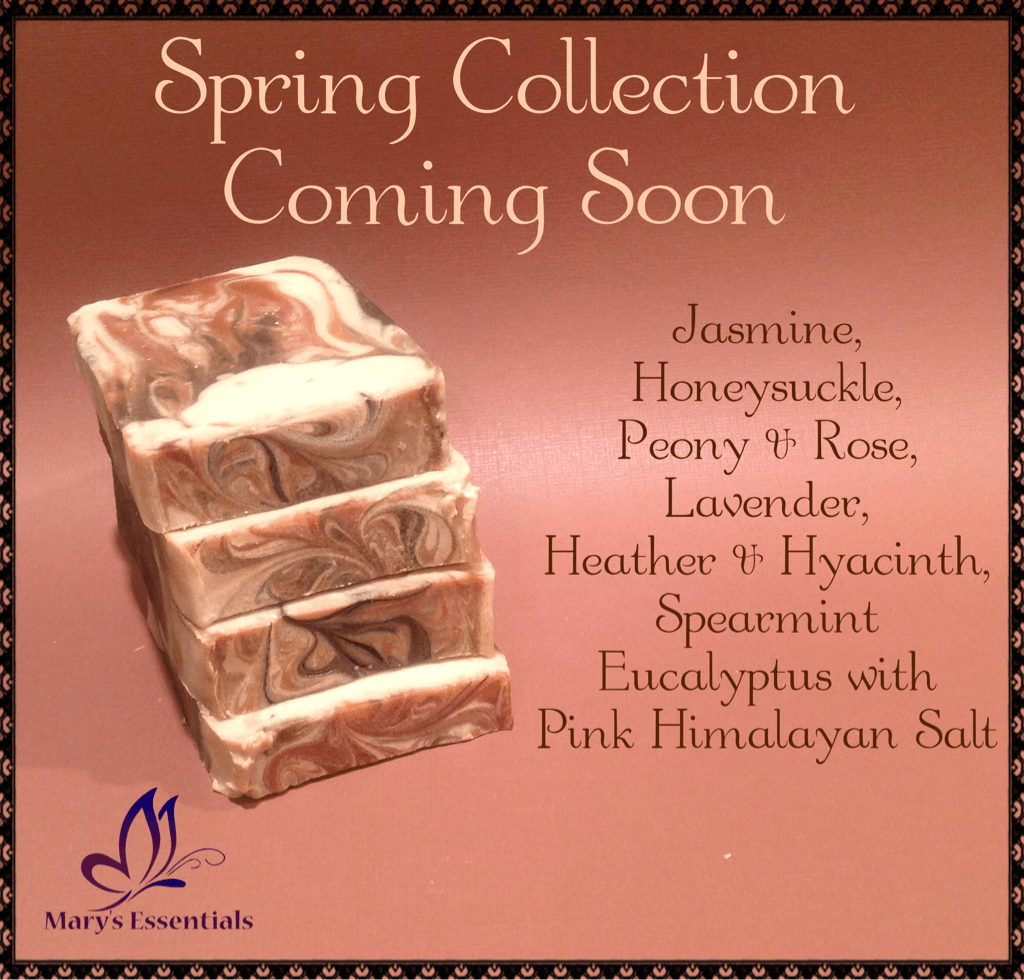
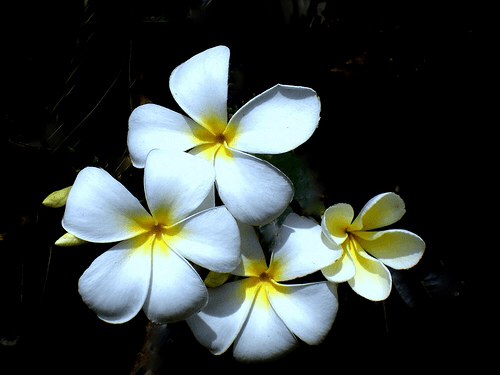
Jasmine
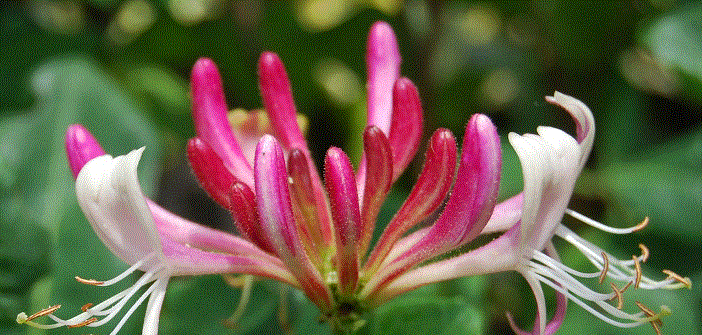
Honeysuckle
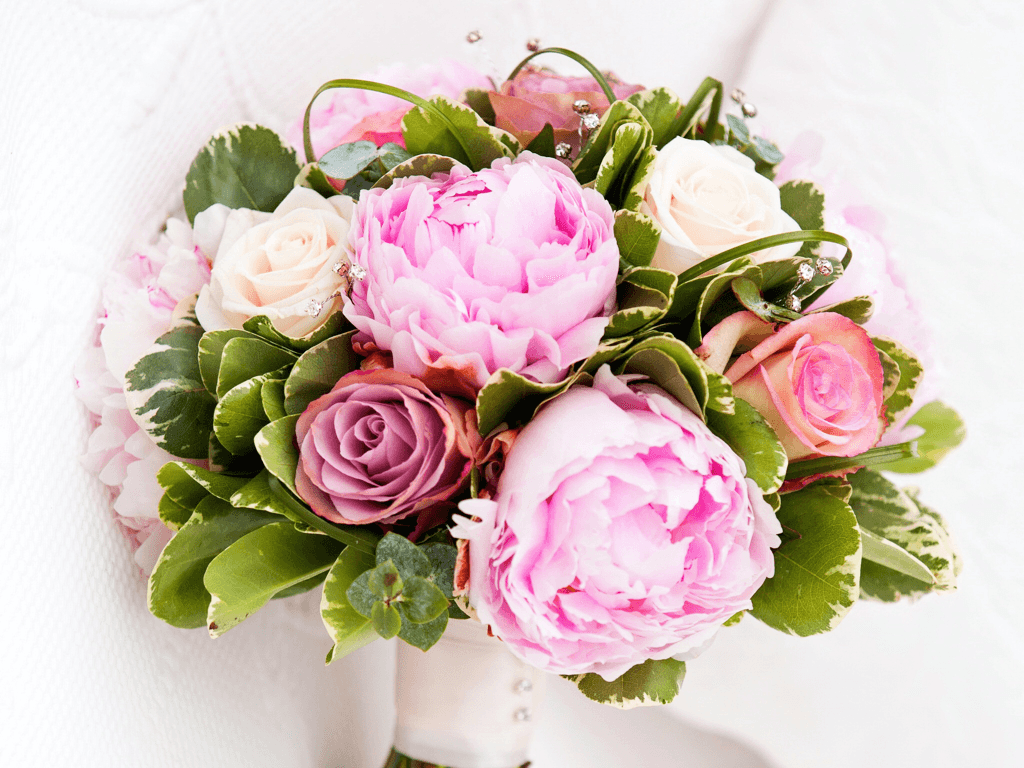
Peony & Rose
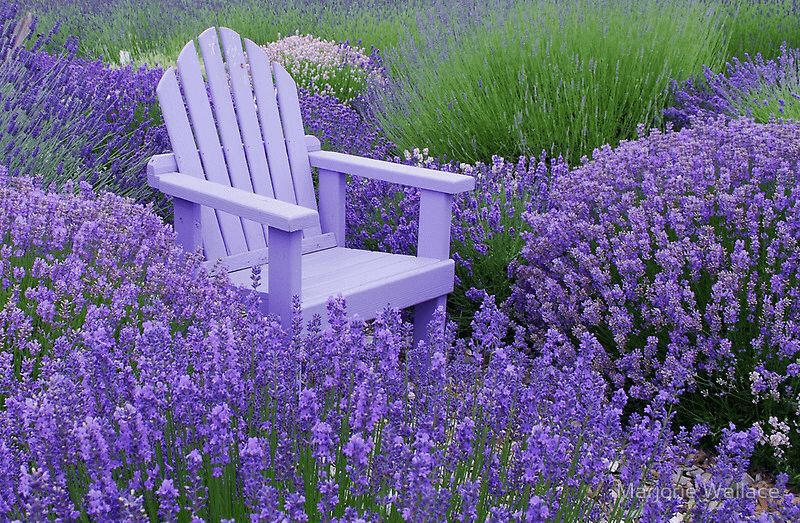
Lavender
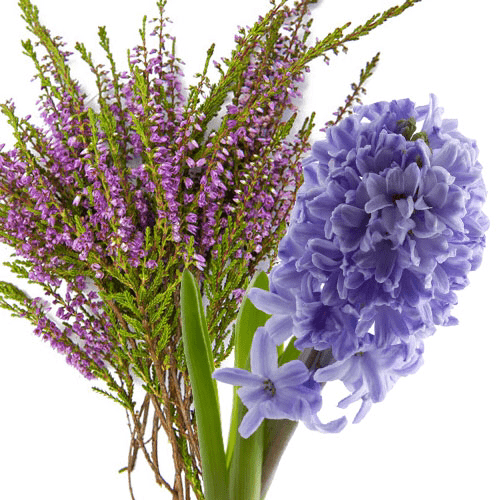
Heather & Hyacinth
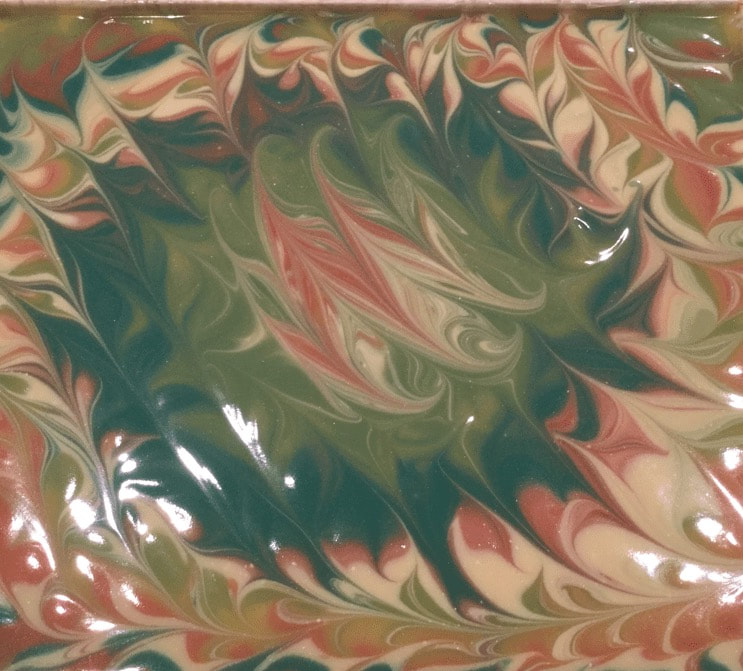
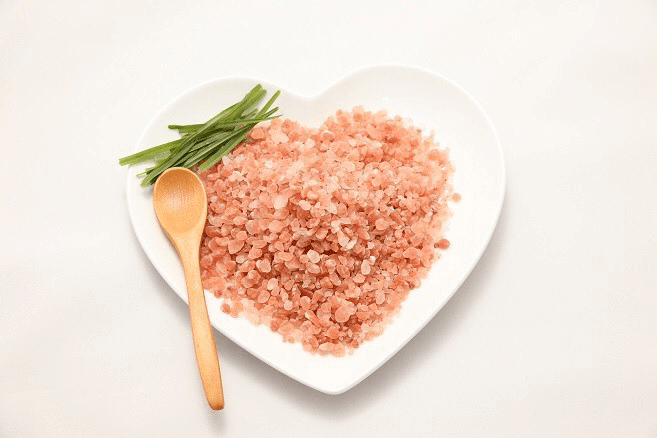
Spearmint & Eucalyptus with Pink Himalayan Salt
 Peek of our Honeysuckle Soap! And the winner of the Name You Favorite Spring Fragrance is...........Congratulations to Teresa Burnett! Teresa will receive a basket of soap and samples. Look for future goodie giveaways. Thank you for taking the time to read our blog, please feel free to comment or ask question below. If you are interested in upcoming events where you can find our products please select the link below.
1 Comment
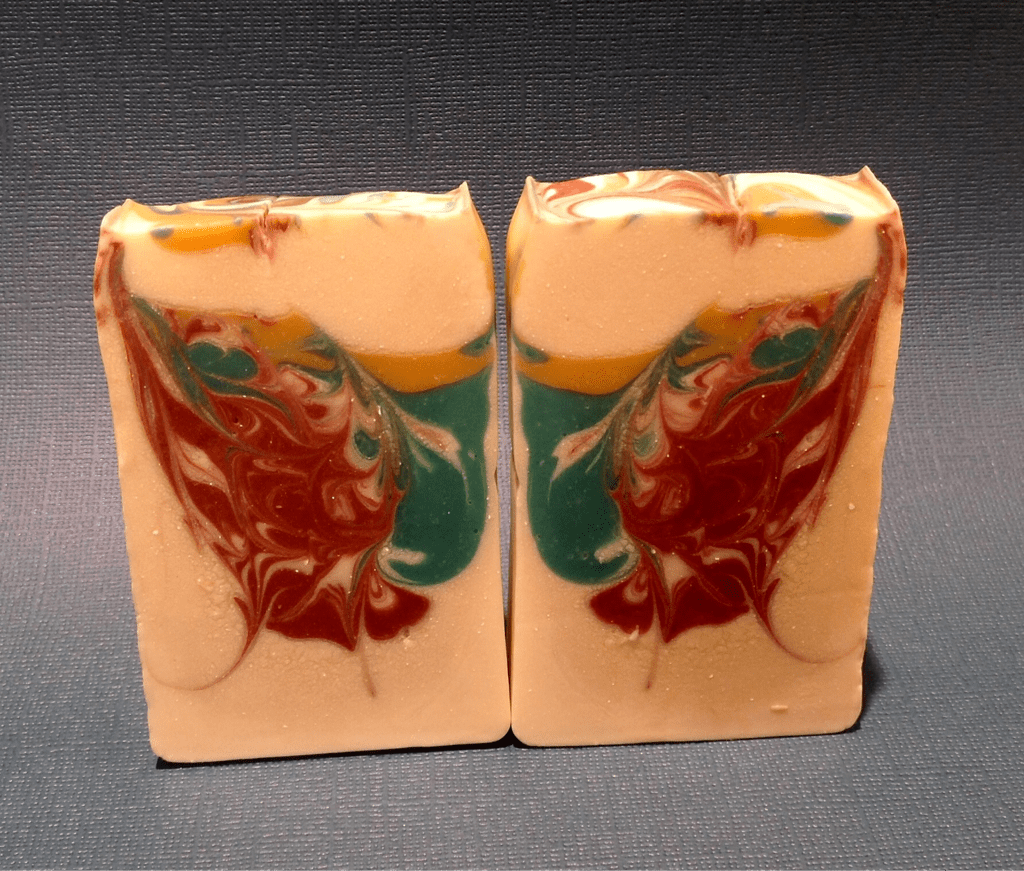
Ever wonder how I get those cute little butterflies on our soaps? That's easy, by way of a soap stamp! I'll explain how I do this and why I chose a butterfly stamp of all things. Pictured above is a new batch of Peppermint soap that has been recently sliced two days ago. Soap is soft when you cut so I like to let it sit for a day or two to give it time to firm up a bit. By giving the soap time to get a little more firm you will get a cleaner and more defined characteristics of the imprint. Why I use a butterfly stamp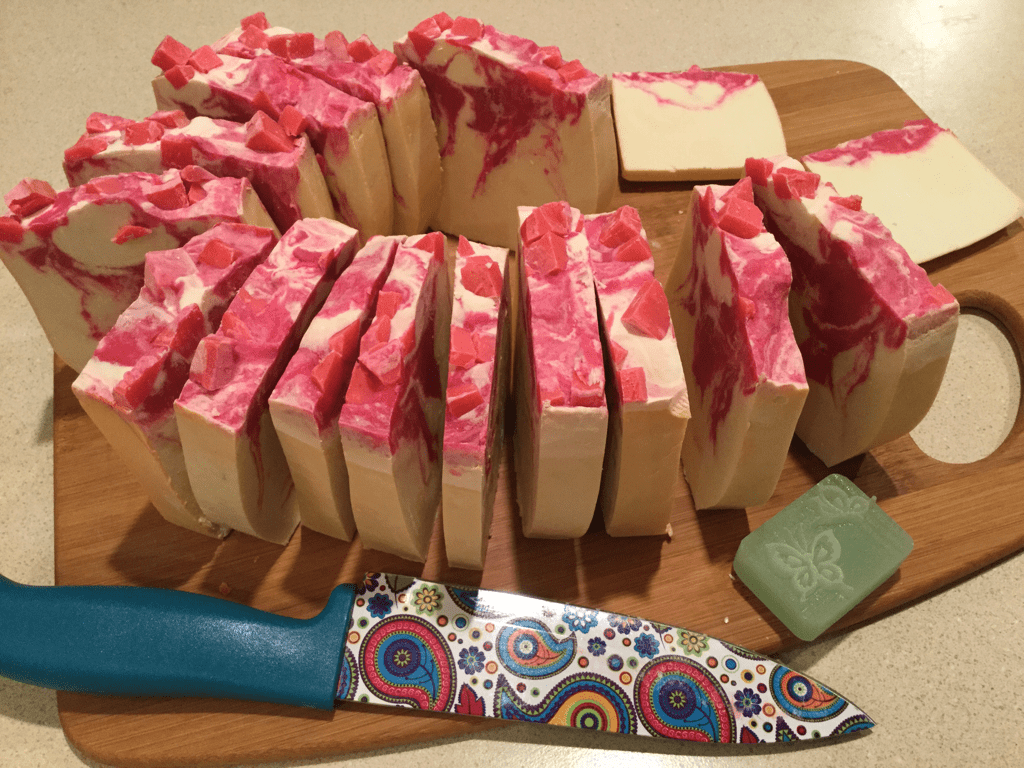
This is my butterfly stamp!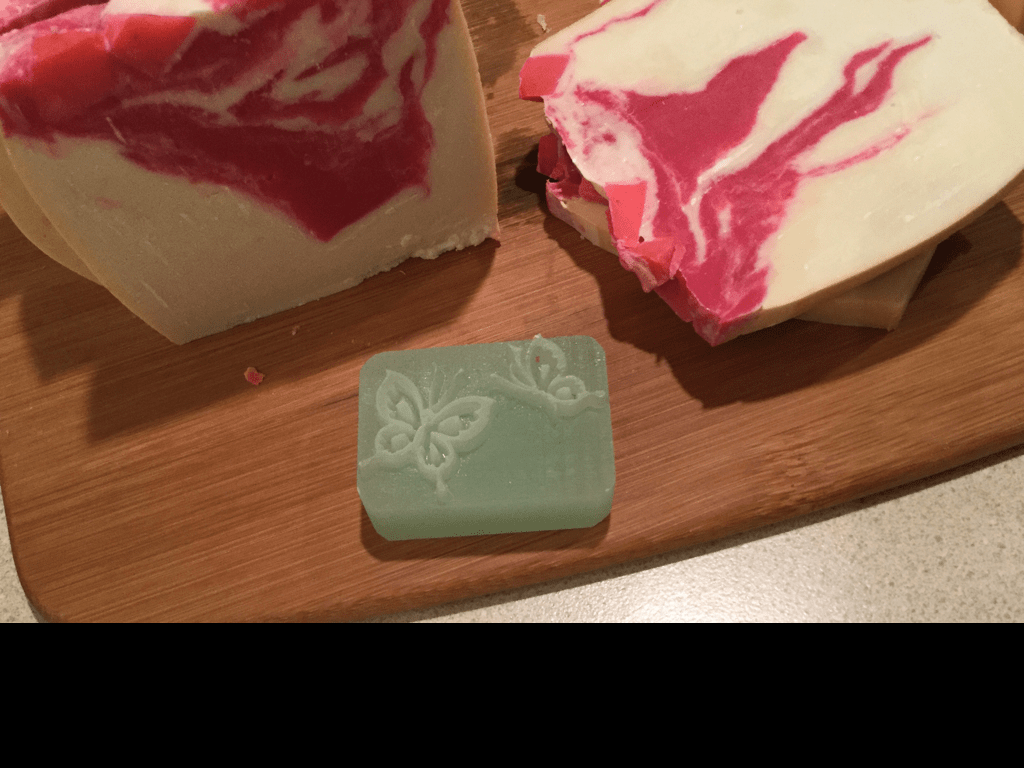 Soap stamps are usually made from glass or acrylic, a hard composite that can effectively stamp the soap. As with everything there is a happy medium for when the stamping needs to occur. If you wait too long and the soap becomes completely hard, a mallet will need to be used to apply enough pressure to stamp for it to embed into the soap, this could lead to cracking the soap if your not careful. If stamping occurs when the soap is too soft, part of the soap could lift away with the stamp. A good rule of thumb that I go by is to wait 1-2 days altering cutting the soap. 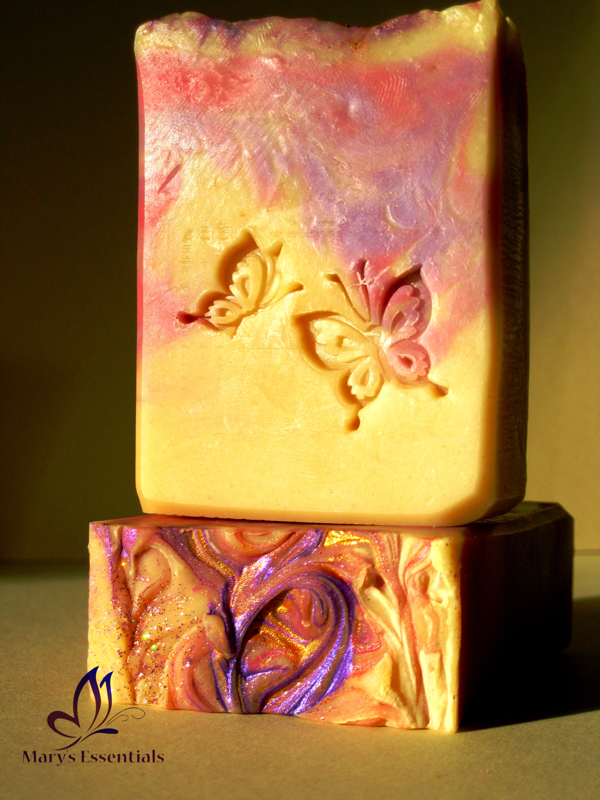 Now it's time to place the soap on a even, hard surface so that there is no wiggling when you apply pressure to the stamp. I place the stamp where I think it would look best on the soap. I tend to stamp in the lower right hand corner for consistency. Enough pressure will need to be applied to produce the image without going to too deep that the stamp base touches the soap. If too much pressure is applied the stamp base (square part) will also imprint into the soap. 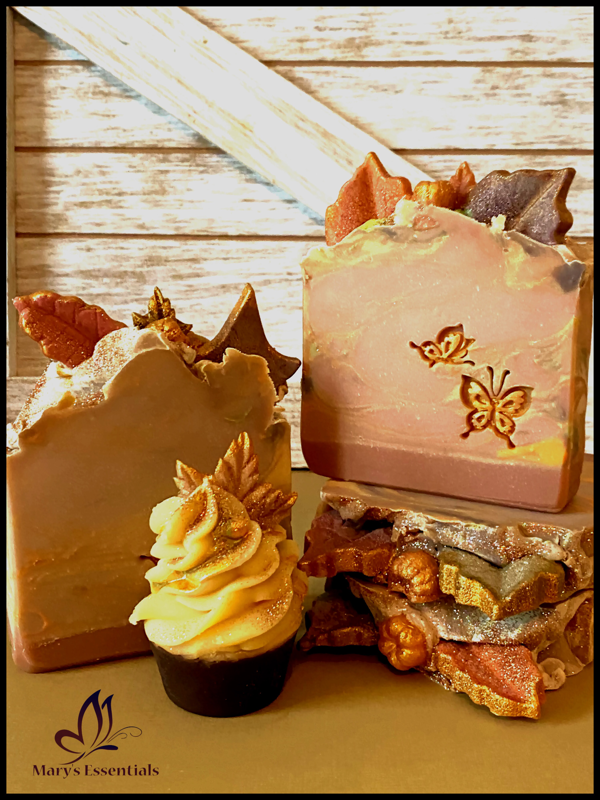 From the picture above you can see all the details of the stamp clearly in the soap. I really like it when the colors in the soap are also part of the stamping, see the little butterfly and how the red is part of the wing? This just adds to the definition of the design. Each slice of soap is stamped by hand with love 😊  Here are the finished slices of the peppermint soap, this batch yielded 14 bars which is just about average for the molds I use. The embellishment on top was created by chopping up a red bar of soap that I had made previously and placed them on top of the soap batter immediately after pouring into the mold. 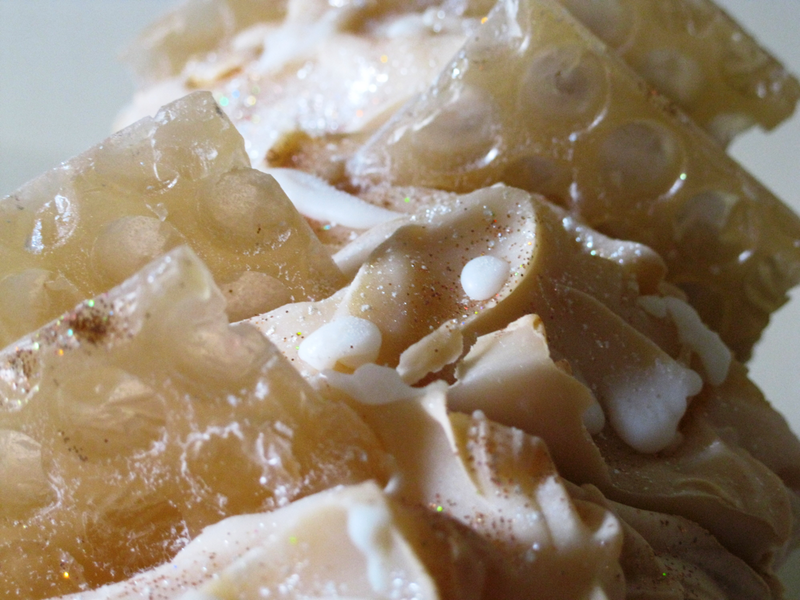 Feel free to comment or ask questions. Thank you for taking the time to read our blog. Like us on Facebook to see more of our soaps and other products.
Mary |
Author
|
 RSS Feed