|
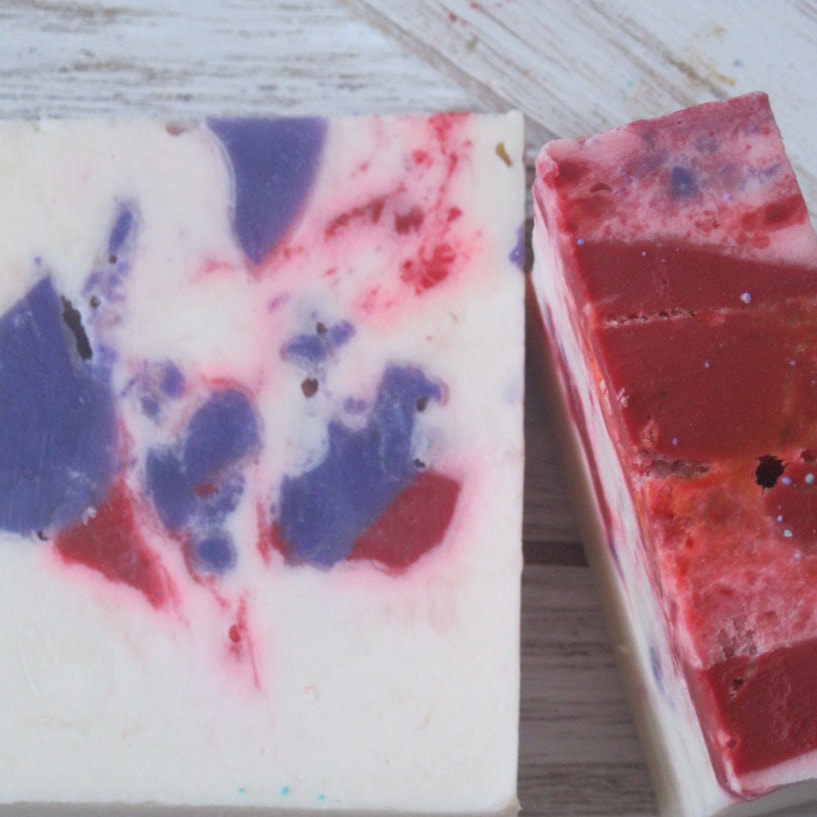
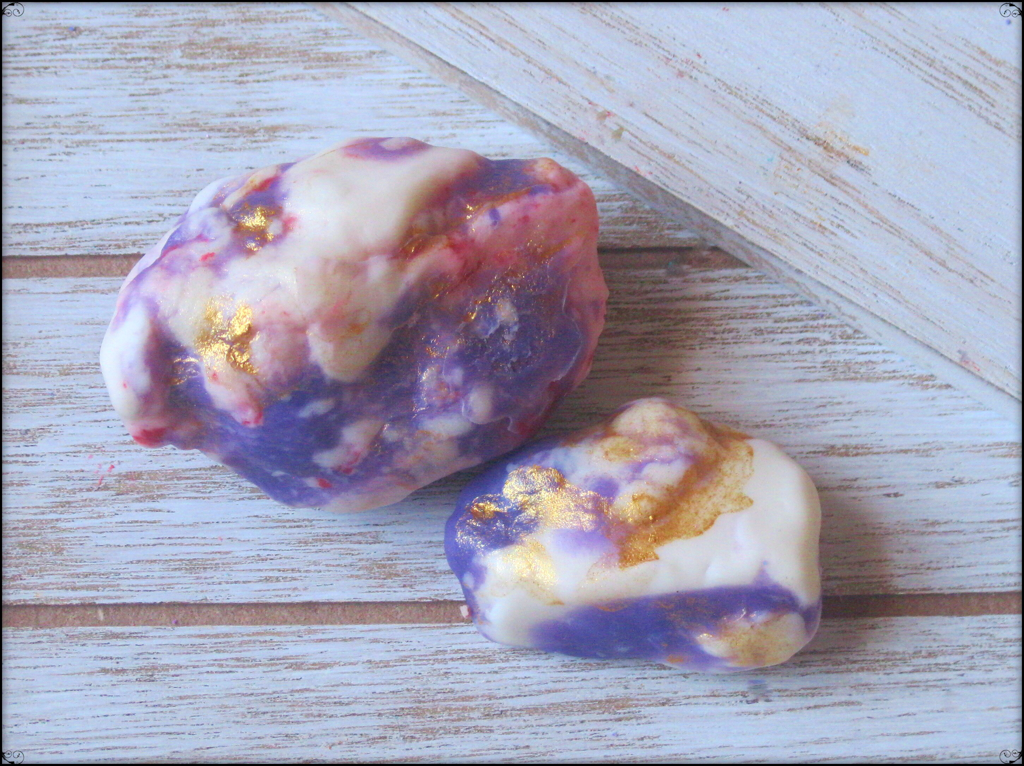
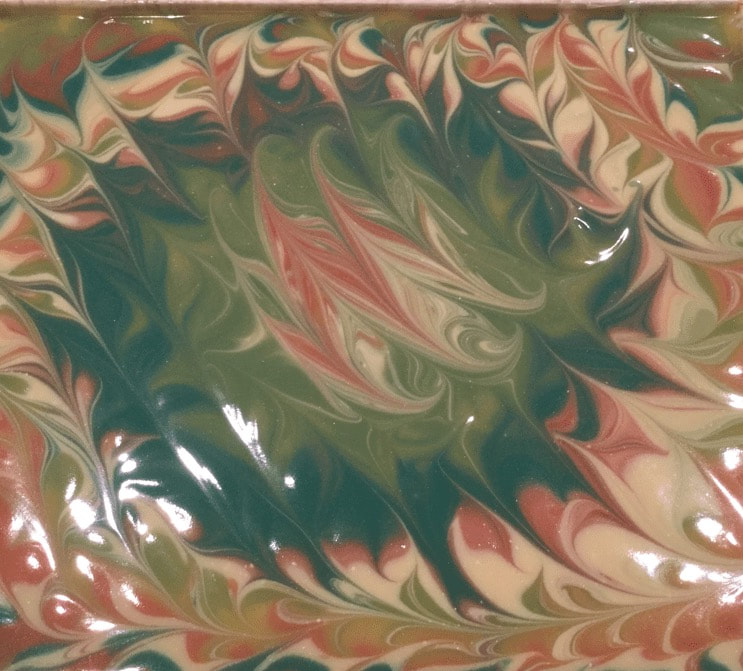
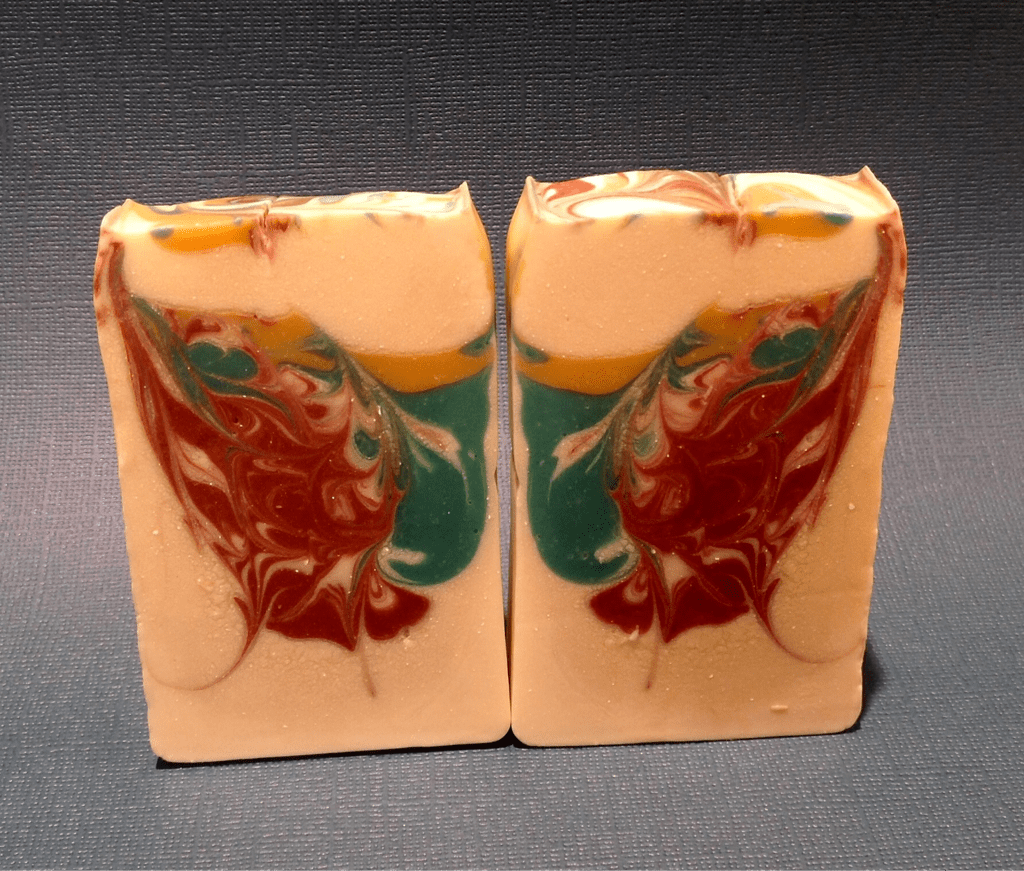
Soap is poured into a mold when it is still in a liquid form. Many times the mold is a rectangle shape, similar to a loaf of bread. Once it has hardened a bit, the soap is removed from the mold and cut into bars. One night I was cutting a loaf of soap into bars and each bar that I cut pleased me. As I cut each bar from the loaf I held it up and admired the beautiful swirls. Once they were all cut, I had them standing in a line trying to determine which was my favorite bar but I could not because each bar was unique and beautiful in its own way. At that point it was like God spoke to my heart that He felt the same way about us. He loves us all and each one of us is unique and pleasing to Him. Perhaps our behaviors do not always please Him but He loves us just the same. I thought about that for a long time, in fact I still think about it. Then the thought occurred to me that I should write a blog post explaining this impression God put on my heart. I repeat, "I" had it all planned out. "I" was going to make a soap that had a beautiful swirl on the inside. The analogy was going to be how God sees the beauty inside us and that we are pleasing to Him. So, I had everything prepped to make the soap, the colors were going to be white, with red, gold and purple swirls. I had even selected an outdoorsy scent that seemed to fit the design "plan". I had divided the soap and added the colors (so far so good). Then I added the fragrance. The fragrance was so nice and I was in my soaping happy place the worst thing happened (as it pertains to soap making). The fragrance oil made the soap batter thicken to a point that it couldn't be poured and swirled into a design. I was working frantically to get the soap into the mold before it was too late. I was very disappointed in myself. I just knew that the soap would look horrible. I said a little prayer that if God wanted me to do this blog then He would have to intervene and make the soap beautiful. A few days went by as the soap was setting up in the mold. I was not in a hurry to cut the soap because if the soap did not turn out as "I" had planned I felt that I had misinterpreted what God wanted me to do. A friend of mine had come to visit and we were catching up and painting mermaid tail soaps in the Soap Shack, which is the name I lovingly call the workshop where the soap is made. I was telling her this story and she encouraged me to cut the soap and there was no better time than the present. I was thinking, "I bet I'll cut the soap and there will be some dramatic display of God's glory, perhaps a beautiful swirl after all, that would in fact be a miracle. I thought, "I can work with that!" Suddenly the hesitation was gone and I made sure my iPad was ready for picture taking. I started cutting the end pieces first and IT WAS HIDEOUS! The batter was so thick when it was poured that it was just splotchy with no design. There were air bubbles in the soap because it did not settle correctly and the fragrance oil was seeping from the soap.
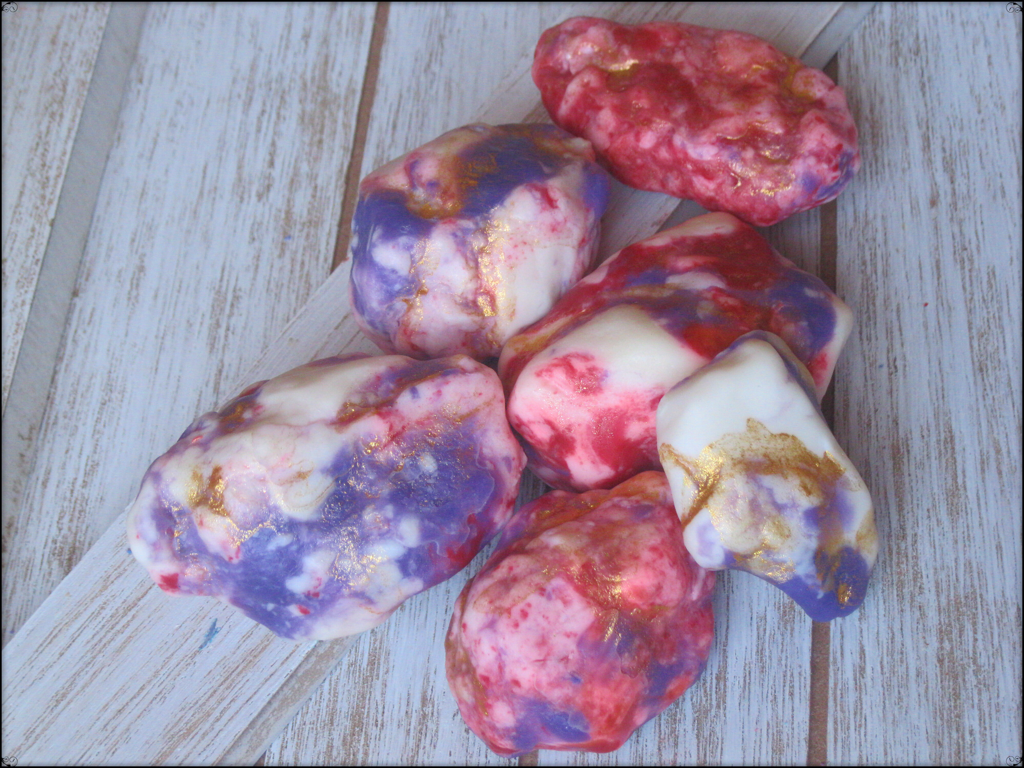
As I was standing there looking in disbelief at the soap, already planning on melting it down and making something else, it occurred to me to cut the ugly top off, maybe the soap would look better if the top was removed. I cut the top off and stood there holding the soap thinking "maybe it is some better". As I was holding the soap top, another thought occurred to me to mold the soap top into a rock shape. To do this with soap that has already set up, you have to squish it up in your hands and begin to mold it into the shape you want. The areas that were rough were smoothed and weak areas were built up and made stronger. When finished, the soap rocks were gently polished to remove the smudges.
6 Comments
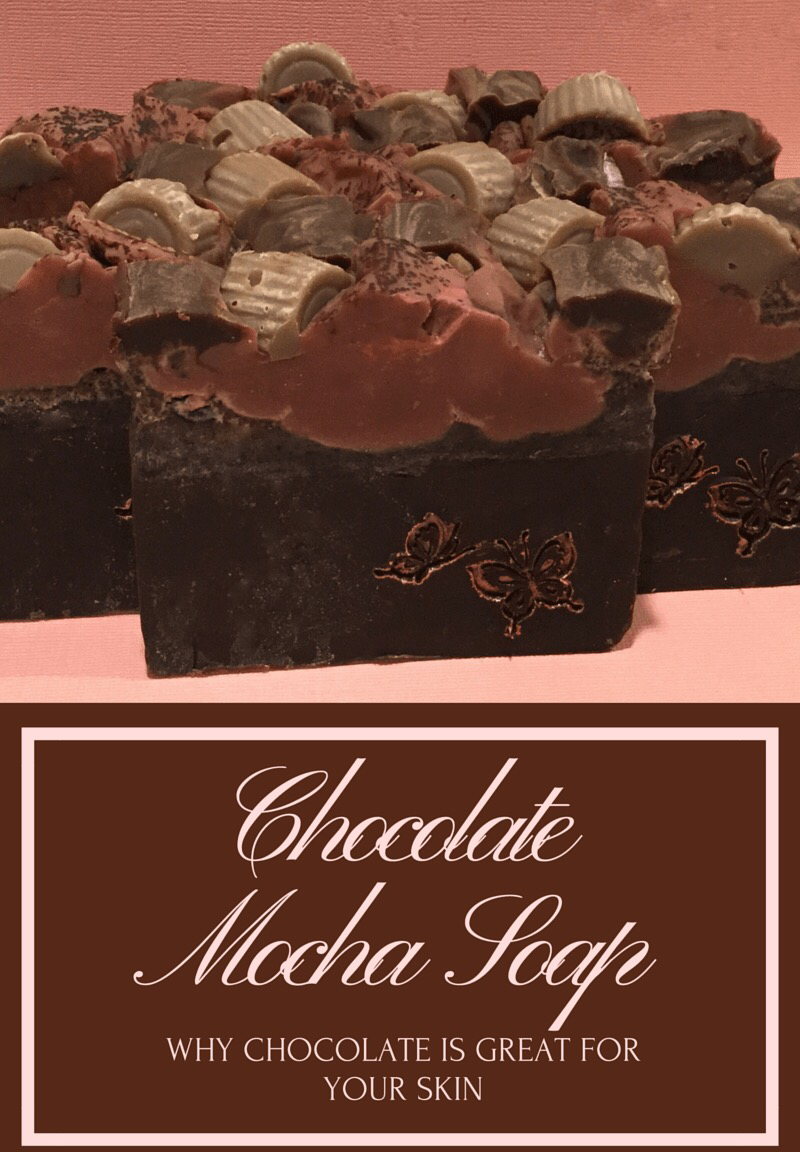
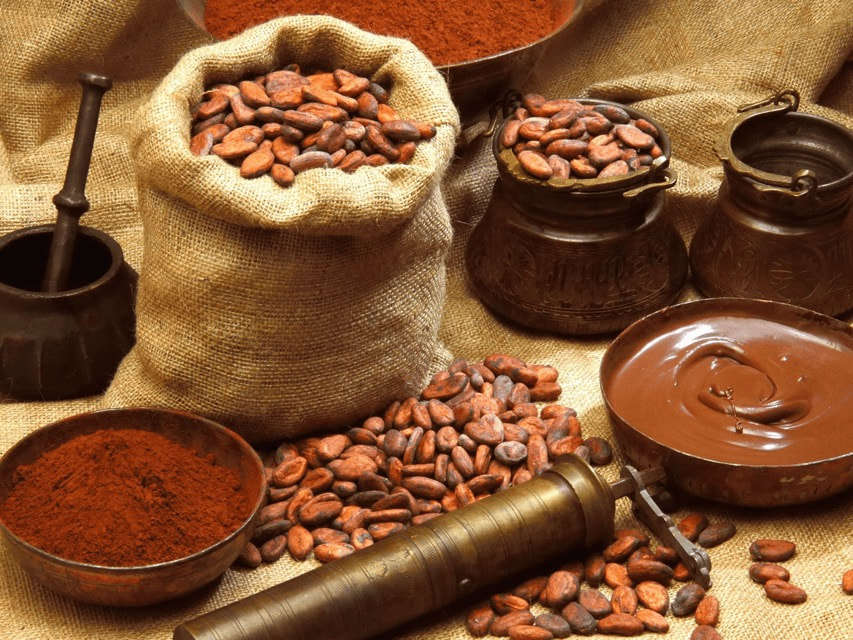
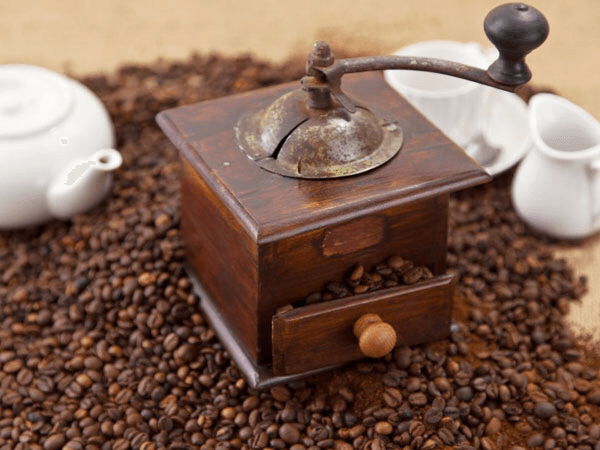
Hopefully I captured the 3 layers in the picture I took. If you look closely, you can see that there are two layers of brown and a layer of pinkish brown. The first layer is quit substantial and takes up about 2/3 of the loaf. This first layer has several tablespoons of cocoa that I added to the soap batter before pouring. OMGosh, it turned the prettiest shade of brown, looked just like melted milk chocolate! It was lovely indeed. The second layer holds the grounded coffee, again I went overboard and put about a cup full into the soap batter. I love coffee in soap, it exfoliates the skin beautifully. The last layer I added peppermint essential oil which has a wonderful mental and physical stimulation effect.it. All of these ingredients mixed together smells wonderful. The peppermint is noticed first however the chocolate scent quickly catches up. The coffee produces a subtle undertone that makes you hold the bar to your nose and inhale deeply. Benefits of ChocolateWith great sun protection properties, it shields your skin against detrimental UV rays and thus helps preventing conditions like sunburns and skin cancer. Dark chocolate makes an excellent skin-detoxifier in combination with caffeine. It sloughs off the dead skin cells and allows the newly exposed, fresh skin to breathe freely. Stress is a huge beauty bummer. If not checked, it can ruin your entire personality. Dark chocolate boasts wonderful stress-relieving qualities and work wonders in getting you a glowing skin by reducing elevated stress hormones. Benefits of Coffee
I just hit the highlights on the skin benefits that chocolate and coffee have for your skin. The cocoa I used for this soap was pure, unsweetened cocoa. Thank you all for taking the time to read and please enjoy the slide presentation of our newest soap. Comments and questions are welcomed.
Jasmine
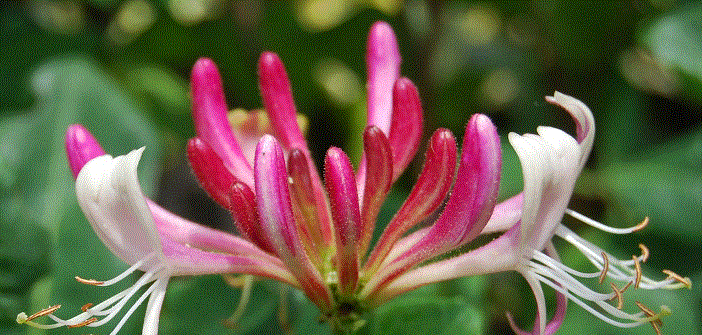
Honeysuckle
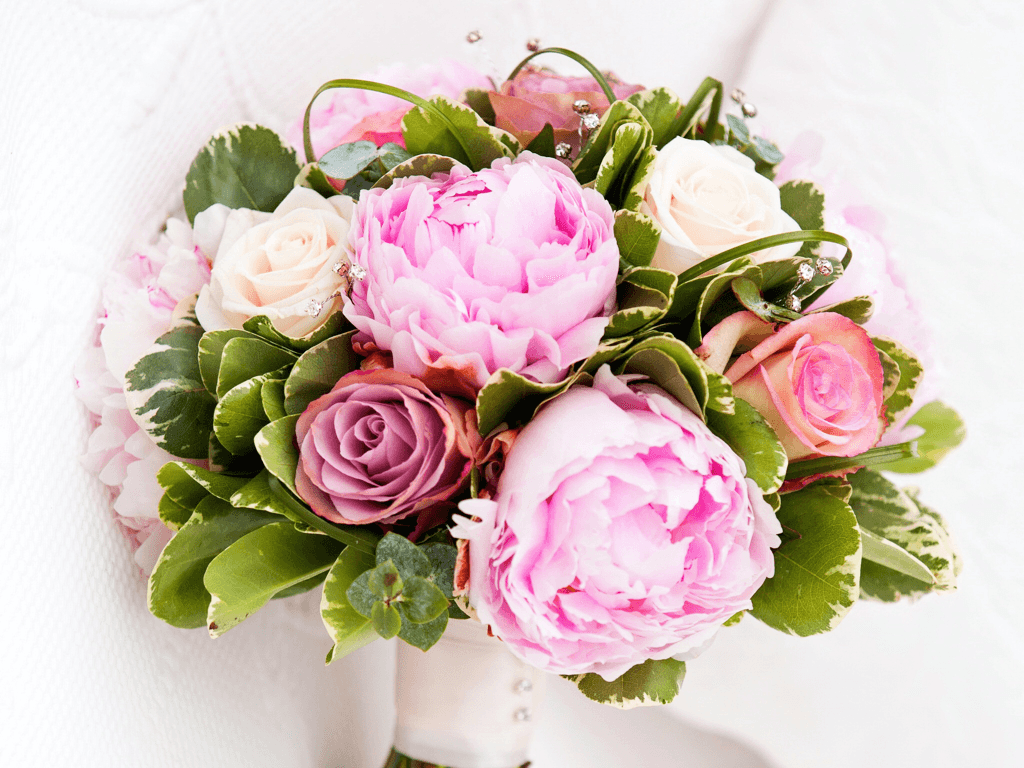
Peony & Rose
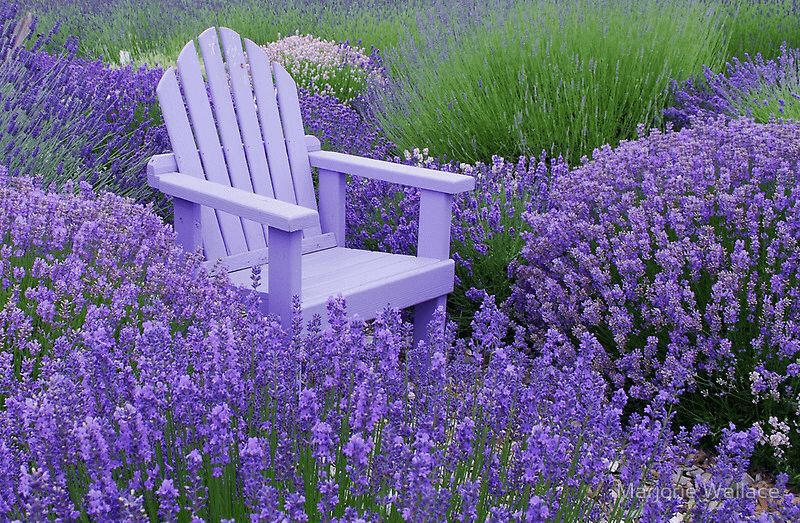
Lavender
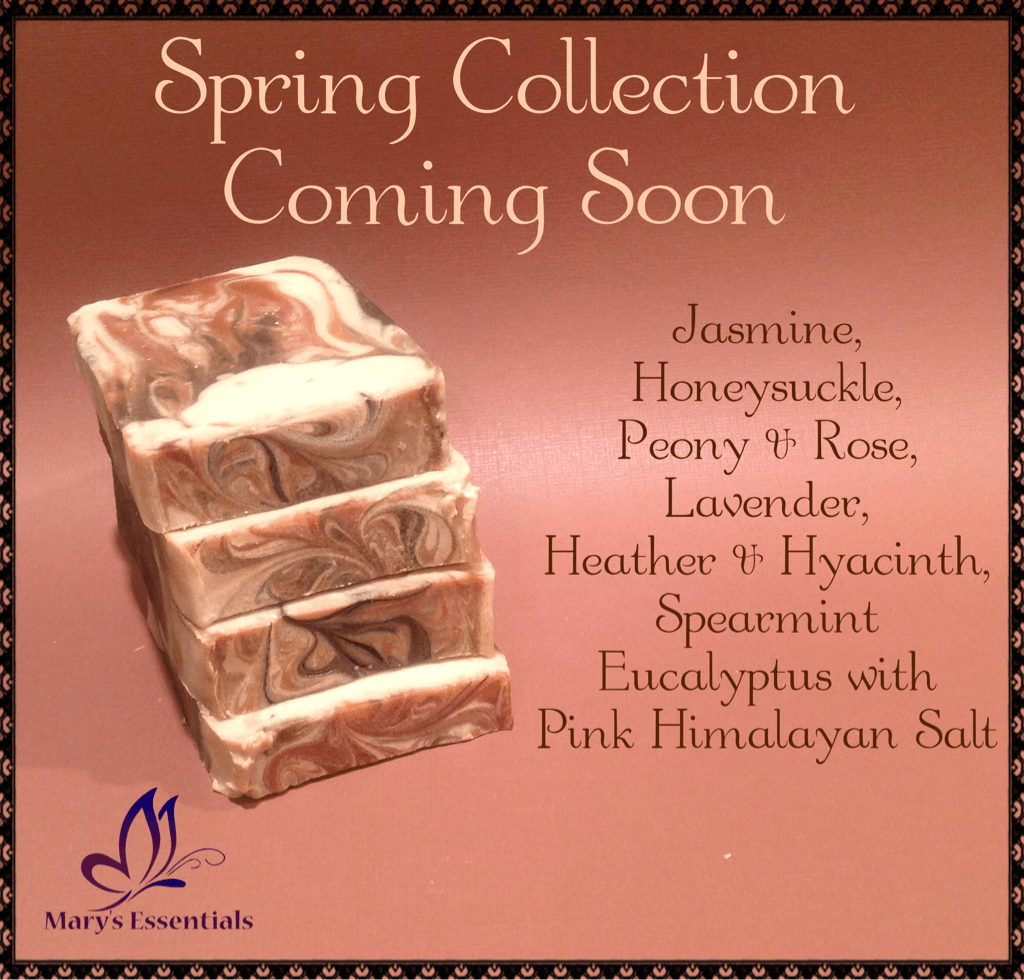
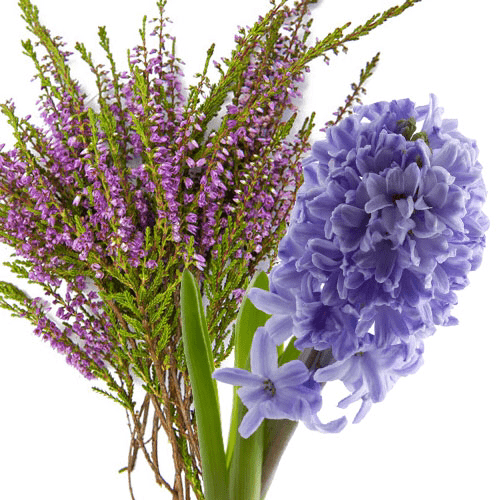
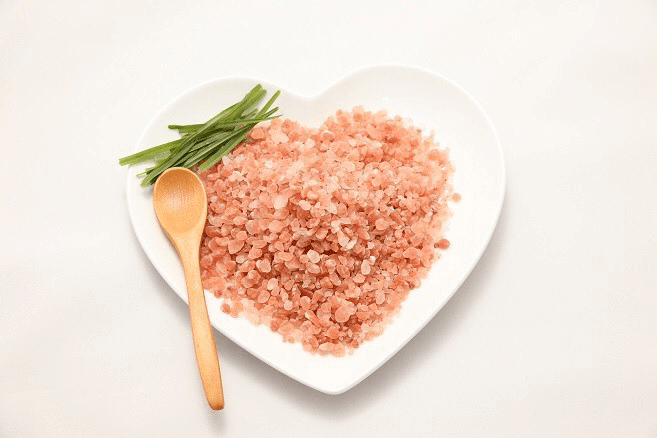
Heather & HyacinthSpearmint & Eucalyptus with Pink Himalayan Salt
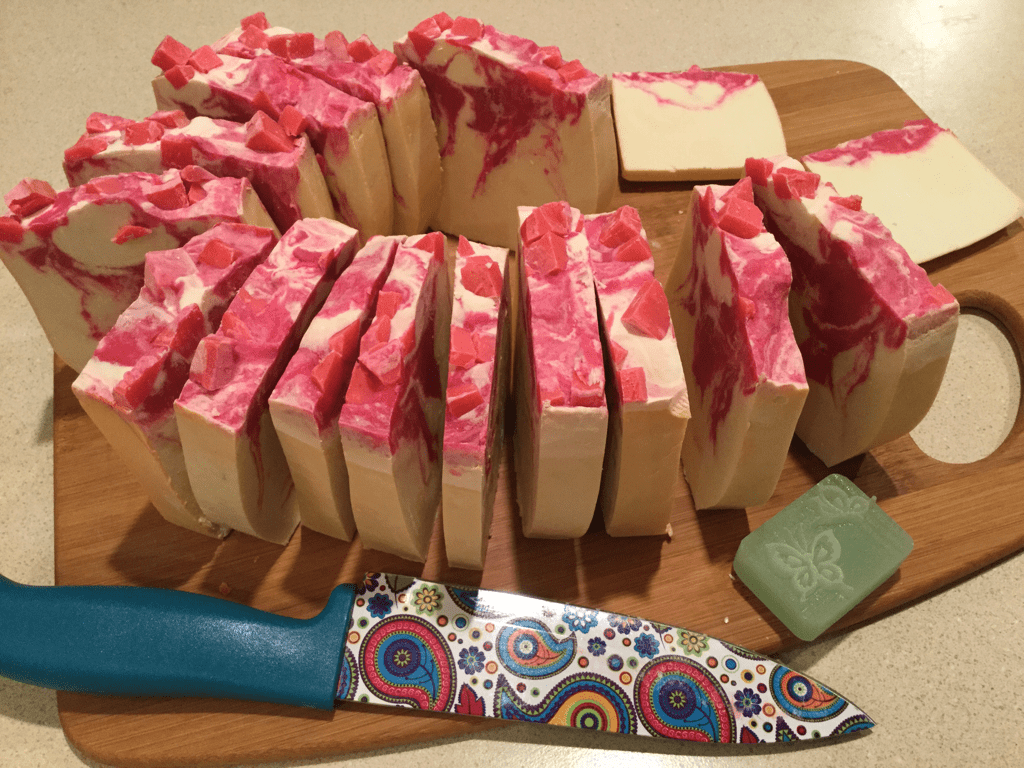
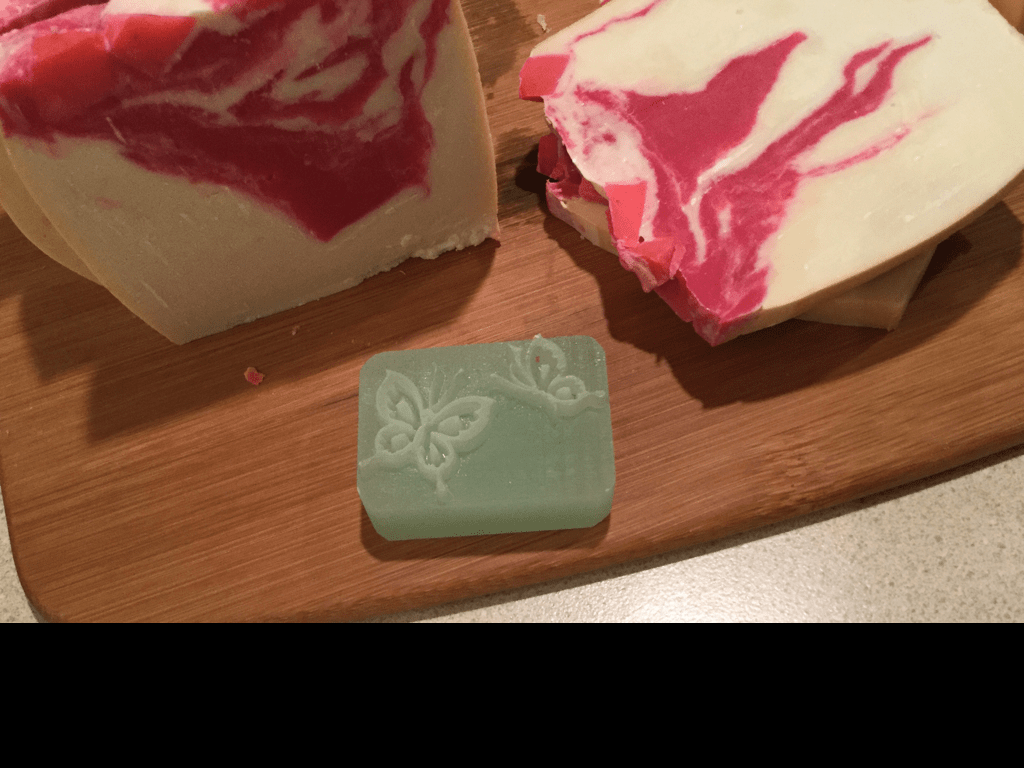
And the winner of the Name You Favorite Spring Fragrance is...........Congratulations to Teresa Burnett! Teresa will receive a basket of soap and samples. Look for future goodie giveaways. Thank you for taking the time to read our blog, please feel free to comment or ask question below. If you are interested in upcoming events where you can find our products please select the link below. Ever wonder how I get those cute little butterflies on our soaps? That's easy, by way of a soap stamp! I'll explain how I do this and why I chose a butterfly stamp of all things. Pictured above is a new batch of Peppermint soap that has been recently sliced two days ago. Soap is soft when you cut so I like to let it sit for a day or two to give it time to firm up a bit. By giving the soap time to get a little more firm you will get a cleaner and more defined characteristics of the imprint. Why I use a butterfly stamp
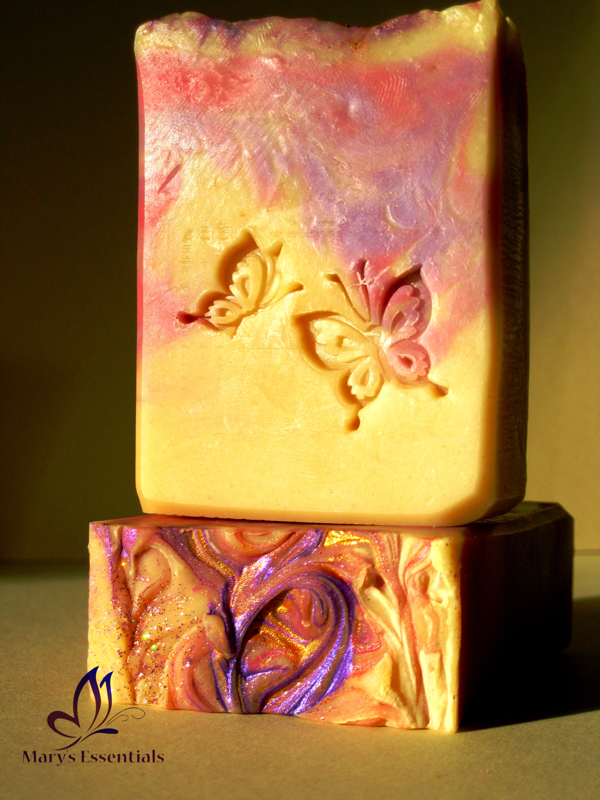
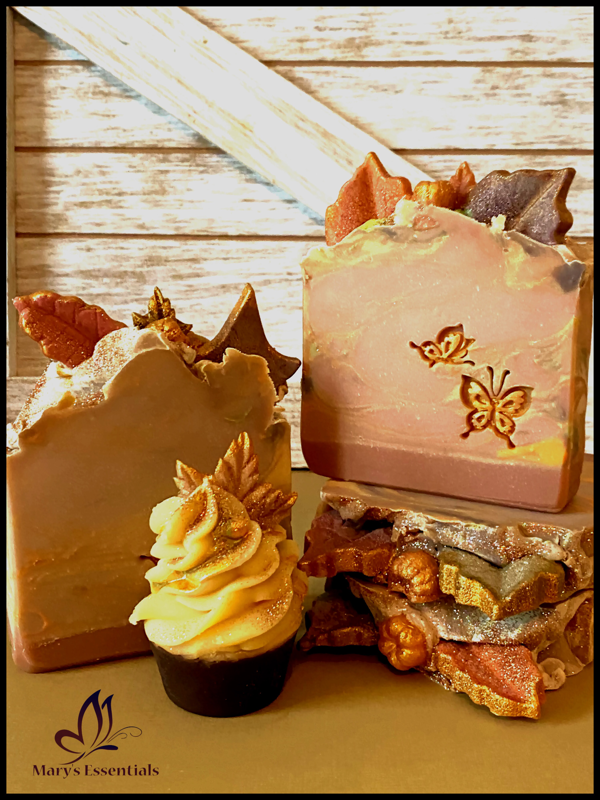
This is my butterfly stamp!Soap stamps are usually made from glass or acrylic, a hard composite that can effectively stamp the soap. As with everything there is a happy medium for when the stamping needs to occur. If you wait too long and the soap becomes completely hard, a mallet will need to be used to apply enough pressure to stamp for it to embed into the soap, this could lead to cracking the soap if your not careful. If stamping occurs when the soap is too soft, part of the soap could lift away with the stamp. A good rule of thumb that I go by is to wait 1-2 days altering cutting the soap. Now it's time to place the soap on a even, hard surface so that there is no wiggling when you apply pressure to the stamp. I place the stamp where I think it would look best on the soap. I tend to stamp in the lower right hand corner for consistency. Enough pressure will need to be applied to produce the image without going to too deep that the stamp base touches the soap. If too much pressure is applied the stamp base (square part) will also imprint into the soap. From the picture above you can see all the details of the stamp clearly in the soap. I really like it when the colors in the soap are also part of the stamping, see the little butterfly and how the red is part of the wing? This just adds to the definition of the design. Each slice of soap is stamped by hand with love 😊 Here are the finished slices of the peppermint soap, this batch yielded 14 bars which is just about average for the molds I use. The embellishment on top was created by chopping up a red bar of soap that I had made previously and placed them on top of the soap batter immediately after pouring into the mold. Feel free to comment or ask questions. Thank you for taking the time to read our blog. Like us on Facebook to see more of our soaps and other products.
Mary The Problem-How Can I Sanitize My Mattress? Well it's Spring and along with the sunshine and warm weather comes the deep cleaning of your home. Not long ago, I stripped the flannel sheets off the bed and washed the mattress pad. It is my routine to flip the mattress twice a year giving me the opportunity to vacuum the mattress as I do this. After we repositioned the mattress I questioned myself if the mattress was as clean as I could get it. Vacuuming is works well as it removes dust and skin cells that are lost and collected in the mattress but vacuuming doesn't sanitize the mattress. Then I had a thought..... The Solution-Essential Oils for SanitationI use EOs to kill germs either topically or by diffusing in the air, why not make a disinfectant spray that I could use on the items that can't be washed such as mattresses and carpets? After a little research I came up with a mixture that I felt would sanitize and freshen my mattress. I dropped the oils in small 4 oz spray bottle and filled it with distilled water. I sprayed both sides of the mattress with the mixture making sure to get the seams as well. I then let it sit for 30 minutes while I went on to other things. Upon returning, I took a handheld steamer and steamed the mattress (again making sure to get the seams). What I did was slowly run the steamer over the mattress, this produced a high temperature on the mattress without distributing too much water vapor to saturate the mattress. It was dry within minutes but I left the sheets off for a few hours just to make sure. The Recipe10 drops of Thieves blend EO 10 drops of Purification blend EO 10 drops of Peppermint EO 3 drops of Lavender EO Place in a 2-4 oz spray bottle and top off wit distilled water. This is a DIY antibacterial spray that can be used on most surfaces. The Results!The results were amazing! Not only did the mattress smell great but I felt very comfortable that our mattress was sanitized and fresh. Interested in the Spray?
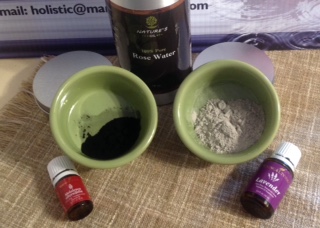
Blackhead Buster!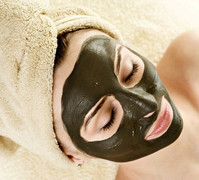 I know it seems strange to put charcoal on your face but this mask has amazing benefits for your skin. If you have read my other blogs you will know that my son has acne that we have been treating with an essential oil blend that I call Complexion Enhancement because it is not work well for acne but for most skin issues. The Complexion Enhancement works great for acne and preventing new blackheads but it did not extract the blackheads that were already there prior to us starting our treatment. So I starting researching high and low for blackhead removal therapies and let me tell you there are a lot of so called "treatments" out there. We tried many things but what I'm about to tell you works wonders for your skin and I'm so excited to be able to share this with you. As you may know, I also make soap and one of the soaps I make is for acne prone skin. I started thinking what if I could make a mask with some of the same acne fighting ingredients that are in the soap? I experimented a little and came up with a Charcoal & Bentonite Clay mask with Lavender and Tea Tree essentials oils. Well it looks strange I have to admit, it was very thick to begin with but I thinned it with Rose Water to make it more spreadable for the face. My son was very hesitant to say the least but we tested the mask on my hand for 15 minutes to prove to him that it would not discolor his face. He finally consented to the mask and 15 minutes later we washed it off. OH MY GOODNESS, to my surprise it removed a large number of the smaller blackheads and for the really stubborn blackheads it raised them more to the surface to allow for a much easier manual extraction process. He would only allow me so much "face" time so we repeated the process the next week again with amazing results. My daughter and I joined him in the masking adventure and we loved the results too. It left our skin feeling amazingly soft, so soft that I can't articulate it in written words. My RecipeMix ingredients well and incorporate the EOs at the end. Apply the mask with your fingers or with a brush. This is very important, do not leave the mask on longer than 15 minutes! These ingredients are very powerful and if you leave the mask on longer it could make your skin very sensitive. To remove the mask, apply a warm washcloth to a small area at a time and gently wash it away. It is very thick so this process takes a little time. Once you have it mostly removed, gently wash your face and pat dry. Do not exfoliate or wash your face vigorously for 2 days after using the mask. Use the mask no more than once a week. Why does this mask work?Both Activated Charcoal and Bentonite Clay removes toxins from your body so the mixture naturally "pulls" the blackheads to the surface. Lavender and Tea Tree essential oils are great for you skin as they have natural antibiotic properties which helps prevent blackhead/acne formation and also softens skin. How can you get this mask?You can purchase the needed ingredients and make the mask yourself or you can contact me for a custom blending of your own Activated Charcoal & Bentonite Clay mask @ [email protected]. For information on the Complexion Enhancement or Acne Soap follow this link www.marysessentials.com/store.
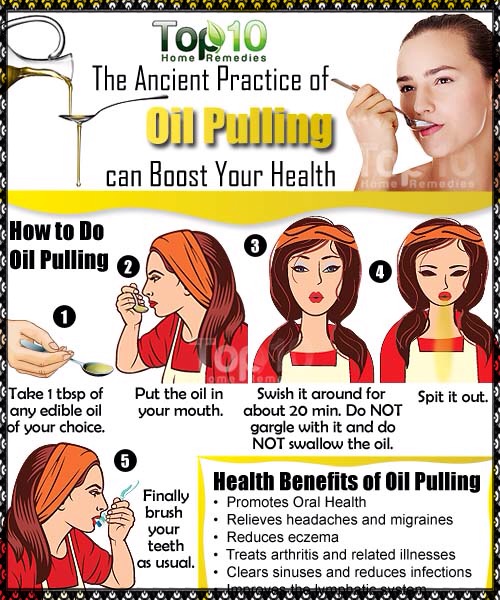
What is Oil Pulling?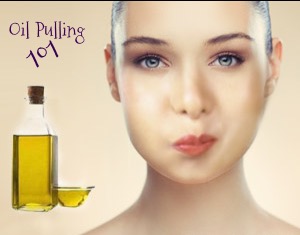 This oral therapy is a type of Ayurvedic medicine (a traditional Indian system) that dates back 3,000 years. It involves swishing approximately 1 teaspoon - 1 tablespoon of oil in your mouth for about 20 minutes then spitting it out. You can use any edible oil, however coconut oil is preferred. Unlike some so-called natural home remedies, oil pulling is not a practice that is based on pseudo-science. Recent studies show that oil pulling helps against gingivitis, plaque and microorganisms that cause bad breath. How does this work? Most microorganisms inhibiting the mouth consist of a single cell. Cells are covered with a lipid, or fatty, membrane which is the cell's skin. When these cells come into contact with oil they naturally adhere to each other. If you do your research, you will find that oil pulling benefits your health in many ways by helping with sinus and allergy issues, along with inflammatory type disease processes. Steps in Oil PullingMy Oil Pulling Recipe2 tablespoons of coconut oil + 5 drops Thieves Oil + 5 drops Orange Essential Oil I use the Thieves Oil because it has antibacterial properties and will help improve your immune system and also jump start the pulling process. Orange Essential Oil naturally whitens your teeth so this is a perfect time to give your teeth extra attention. Melt coconut oil and allow to cool off a bit, then mix Essential Oils until well blended. Coconut Oil solidifies at 76* F so if your house is like mine, it will not stay in its liquid form for long. Keep this mixture in a dark, class container and spoon in your bathroom for easy access. Important Oil Pulling Tips!
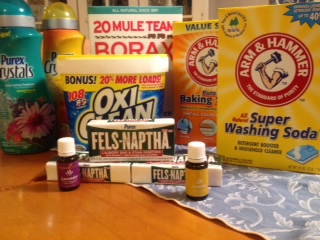
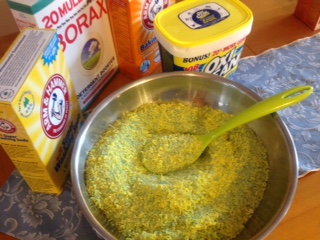
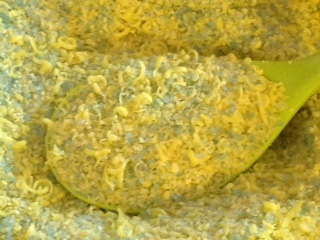
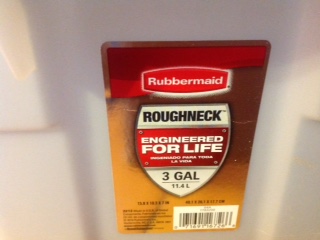
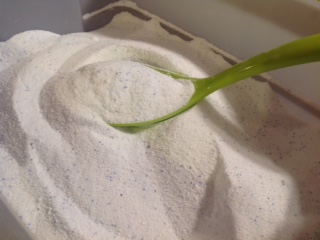
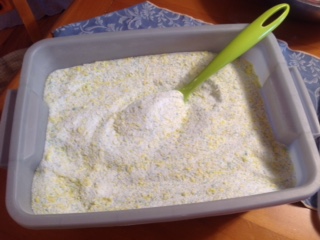
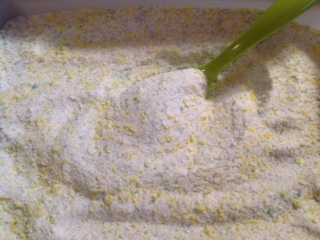
 Intimacy, passion, excitement, sex! Are these items only on your wish list? Are you ever fully in the mood for love these days? Life is busy let's face it. Are you just not in "the mood"? Do you have a lot of "headaches"? Are you a busy mom taking care of the family? Do you work full time? If you have kids in school there is carpooling, after school activities and homework not to mention laundry, cooking, cleaning, shopping and the list goes on and on. Does this leave time for anything but fatigue? Is there anything that can help? Read more to find out about Sensation and how it can help increase your passion and make every night special! What is Sensation Essential Oil?Sensation is a wonderfully fragrant, powerfully romantic blend that is extremely uplifting and arousing. It has an alluring scent and should definitely be used as a perfume. It is formulated to enhance the enjoyment of those special romantic moments. This intoxicating scent enhances the excitement of experiencing new heights of self-expression and awareness. This romantic blend not only has a seductive scent but is also very nourishing and hydrating for the skin and is beneficial for various skin problems. It is also available as a massage oil! Use it to energize and enhance your evening with your partner or spouse. What is in Sensation Essential Oil Blend?Ylang Ylang Essential Oil (Cananga odorata) has a long history in skin and hair care products, particularly in Asia, where it is used to promote luxuriant hair. It is also used as a hormone regulator as it restores confidence and equilibrium. Jasmine Absolute (Jasminum officinale) has a wonderful aroma that relieves stress and uplifts the mind and body. It is also beneficial for the skin and supportive of women's hormones. It has been used throughout history for romance and attraction and for balancing the feminine energy of the body. Geranium Essential Oil (Pelargonium graveolens) helps you relax and beatify your skin. Used traditionally to support the circulatory and nervous systems, a great deal of its strength lies in its ability to revitalize body tissues. Bergamot Essential Oil (Citrus bergamia) includes soothing digestion and combating stress. The essential oil has a calming aroma which relaxes the mind and body. Coriander Essential Oil (Coriandrum sativum L) has been used since Ancient Egypt. It may support healthy digestive and circulatory system functions and has been studied for the support it may offer to a healthy pancreas. Helpful Insights What are the Documented Uses for Sensation Essential Oil? Aphrodisiac, enhancing relationships, loss, love, personal growth, romantic intimacy, promotes sexual energy (men and women), skin and wrinkles associated with aging and promotes sexual vigor and performance (emotional). What Healthy Body Systems are Supported? Nervous system and skin. What is the Aromatic Affect on the Mind? Emotionally calming and balancing. What is the Spiritual Influence? Sensation promotes the emotions of love, intimacy and confidence. It helps us release emotional blocks to love, self-love and sharing love. If we are experiencing low libido or infertility, this oil may help you unblock the physical and emotional issues preventing you from moving forward. May help with self expression and spiritual awareness. What Chakra is Affected? Opens the sacral and heart chakras. How is Sensation Used?Apply 2-3 drops directly to skin (on shoulders, pulse points or soles of feet). Add it to your favorite lotion and enjoy a massage from your sweetie. Add 2-3 mixed with a tsp of carrier oil to your bath water. Use a diffuser in your bedroom Inhale the oil directly from the bottle or wear it on an aromatherapy necklace. "This year for Valentine's Day give him the gift he really wants, the gift of YOU." 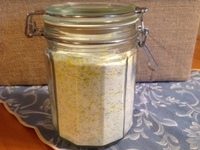 I know that there this recipe for laundry detergent has been out there for awhile but I still hear folks talking about wanting to save money and would like to learn how to make their own laundry detergent. Here is a step by step picture tutorial on how to make you very own detergent. Let me start out by saying that there are many variations to this recipe that probably work just as well as this version, this is simply the tried and tested version that I use. This takes a little work but you can make an approximate 6 month supply of laundry detergent for $35.00. It took me about an hour to make 3 gallons of detergent. Ingredients1- 3 pound box of Washing Soda 1- 5 pound box of Oxi Clean 2 - cups of Baking Soda 1- 4 pound box of Borax 3- 5.5 ounce bars of Fels-Naptha (this is light yellow and has a clean scent) 2- 28 ounce bottles of Purex Crystals 20 drops Lavender Essential Oil (optional) 20 drops Lemon Essential Oil (optional) Step 1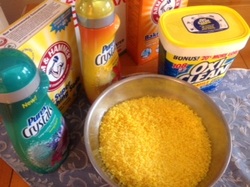 Grate your 3 bars of Fels-Naptha soap. Now this is the most tedious part of the entire process. It isn't hard work but if you do this manually your hand may get a little tired. I just used an old cheese grater I have and used the fine part of the grater so that the soap was in tiny particles. I find that this helps the soap dissolve faster and more easily in cool water. I did this while talking to the kids and it really was not that bad at all. Next time, I will get one of the older kids to grate :) It took about 10 minutes per bar going at a nice constant rate. Step 2Now that your soap is grated, combine all of the ingredients with color together. As you can see the yellow of the soap and the greenish/blue of the crystals make a pretty combination. Also notice how fine the soap is grated, the extra effort is well worth the trouble later. Make sure to mix all of the ingredients very thoroughly in a bowl and set aside until later. Step 3Mix all of the white ingredients together in a tote or any kind of storage container that has a lid. I used a 3 gallon Rubbermaid tote that is the perfect size for this project. It is large enough to hold all of the ingredients but is also small enough to fit easily into the pantry without taking up too much room. Step 4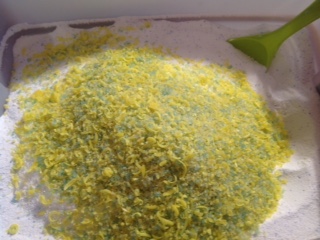 Your almost finished! It's time to mix your ingredients together. Since the white ingredients are already in the tote, I mix 1 cup (at a time) of the colored mixture to the white mixture until it is all mixed together evenly. This is another part where your arm may get a little tired. I find that mixing 1 cup at a time helps to even everything out. Step 5If you so wish, you can add EOs to the detergent at this time. The recommended dose is 40 drops for this amount of detergent. You can use any combination that you like, for this batch I used Lemon and Lavender mixed. Some popular choices are: Lavender - nice scent that you will love Lemon - disinfecting and cleaning properties Thieves - disinfecting properties, also has a great scent I only use therapeutic grade oils when making medicinal mixture however with a project like this, I would definitely consider fragrance grade oils to save money. Step 6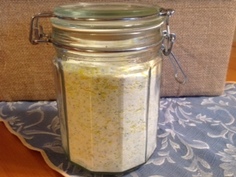 For the sake of convenience, you can fill a container with the detergent and place it close to your washer. Here is the finished product, again about 1 hour of work for 1 person. If you have any questions or comments just post them here. Copaiba Oil Eases Physical Discomforts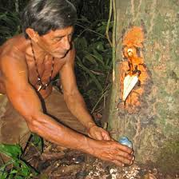 Copaiba Oil is one of my favorite EOs. Hmmm, (I'm pretty sure that I have said that about all of the EOs I have written about) but seriously, I use this oil everyday. If you go back and read my blog on arthritis you will understand why. Copaiba is a wonderful essential oil that reduces the body's natural response to injury or irritation and supports healthy digestion. It also will minimize discomfort related to occasional muscle stiffness. From the oleoresin of the Copaiba Tree, it is harvested similarly to how we collect maple syrup! It is taken right from the tree through a pipe drilled into the tree! The essential oil is then produced by steam distilling the copal (oleoresin collected from the tree). Did you know that copaiba oil known to have some of the highest levels of beta-caryophyllene in the world? Yes it has been documented to contain 50 percent beta-caryophyllene. What is Beta-Caryophyllene?Beta-caryophyllene has been extensively studied for its ability to modulate the body's response to irritation. The significance is that it is approved by the FDA as a dietary cannabinoid (substance that naturally occurs in the nervous and immune systems). How can Copaiba Oil be used?Use diluted - 50:50 dilution (one part essential oil: one part of carrier oil). Then,
Featured Product- Muscle and Joint Pain Be Gone!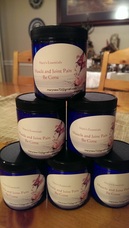 I cannot tell you how much I LOVE this cream. If you have any kind of arthritis, muscle or sciatica pain you have to try this. Copaiba does not have a strong scent, I would say that it is very light and when I mix it with a carrier oil, I usually can only obtain the scent of the carrier. Copaiba is one of the main ingredient EOs that I use in the Muscle & Joint Pain Be Gone. I like the cream because it is very light and spreads easily, the base is designed to melt right into your skin. I not only use Copaiba in the cream form but also just mixed with a carrier oil and applied to the soles of my feet every morning to help with joint stiffness. This is hands down my best seller and I need to start a testimonial page so that other people can tell you how this oil has helped them (putting that on my to-do list now). I have not ingested this oil yet but I plan to, I've read testimonials from others that have had wonderful results with arthritis pain. I'm also in the process of testing a new product for pain that includes Copaiba, it is much more concentrated than the cream and hopefully if testing goes well, it will be released soon. It is a mixture that will be used for more severe or acute pain. Oh as an FYI, I apply the cream directly to the area where I have pain but as a preventive you can apply Copaiba to the soles of your heat. Also remember when applying cream or mixtures for pain that the origin of pain may not be where the pain is felt. For example, your wrist my be hurting but the origin of your pain may be generating from higher up on your arm. So when you apply cream make sure to cover the area that is giving you pain and also the surrounding area. I will keep you updated and please post a reply and let's keep the conversation going. |
Author
|




 RSS Feed